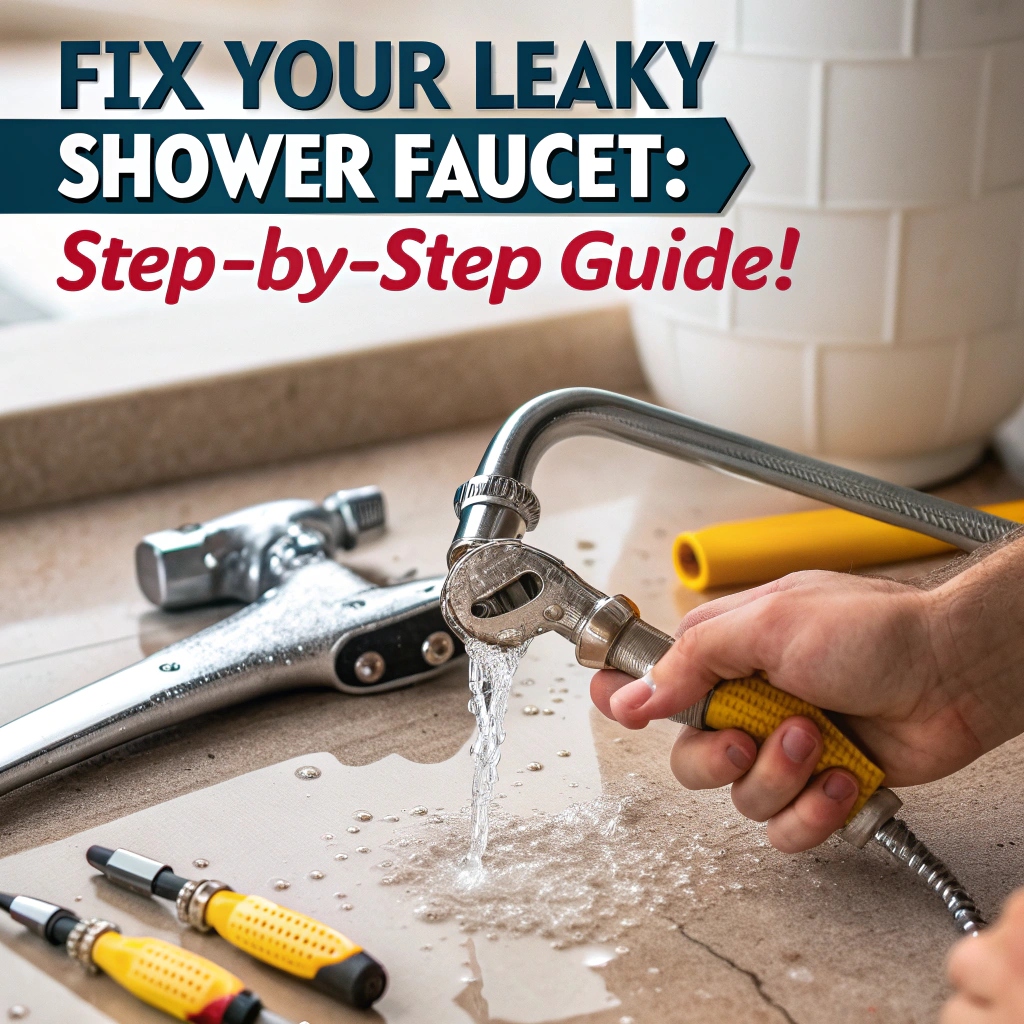
Are you tired of constantly hearing the dripping sound of your shower faucet? If so, you may need to fix it as soon as possible. Because a leaky shower faucet isn’t just a minor inconvenience, it’s much more than that. This inconvenience can lead to increased water bills and waste. So, if you’re facing this problem, you might be wondering how to fix a leaky shower faucet single handle at home without any professional need. So, don’t worry because fixing a leaky shower faucet (single handle) is not as complicated as you think. Here’s a detailed step-by-step guide on how to fix a shower faucet leak repair at home, and a breakdown of all the tools you might need to fix it. So, read more to fix your leaky shower faucet and restore your peace.
Tools and Materials You Will Need to Fix:
To effectively repair or install shower glass partitions, you’ll need a selection of specialized tools and materials to ensure a secure and professional finish. Here’s a comprehensive list to guide you:
Tools:
- Measuring Tape: Essential for accurate measurements to ensure proper fit and alignment.
- Level: Crucial for ensuring that glass panels and hardware are installed straight and even.
- Drill and Drill Bits: Used to create precise holes in walls or tiles for mounting hardware. Common sizes include 1/8” steel drill bits and 3/16” masonry drill bits.
- Caulk Gun: Facilitates the application of sealant to prevent water leakage.
- Rubber Mallet: Useful for gently tapping components into place without damaging surfaces.
- Screwdrivers and Wrenches: Necessary for tightening screws and bolts securely.
- Laser Level: Provides high-precision alignment for a professional finish.
Materials:
- Glass Panels: Tempered glass is recommended for safety and durability.
- Hinges and Handles: Sturdy hardware to support and operate the glass doors.
- Wall Anchors and Screws: Ensure a secure attachment to the wall, especially in tiled or masonry surfaces.
- Sealant: Clear silicone sealant is preferred to prevent water leakage and mold growth.
- Protective Gear: Safety glasses and gloves to protect against glass shards and sharp tools.
Screwdriver Set: A screwdriver set is a must-have, and is used to remove the screws from the handle and trim plate. Having a set with various screwdrivers ensures that different screw types and sizes can be handled efficiently to fix a leaky shower faucet.
Allen Wrench: An Allen wrench is a necessary tool that loosens the set screws in the handle. It allows you to deal with the intricate hexagonal screws without causing damage to them.
Pliers: Pliers are used to grip and turn several components, providing a strong grip and hold. They help in manipulating different parts during disassembling and reassembling of the parts.
Adjustable Wrench: An adjustable wrench is important to adjust (remove or tight) the nuts and bolts of different sizes and types. This ensures that the parts are tightly fit and secure while using and prevent slipping or any other damage.
Cartridge Puller: The cartridge puller is specifically designed to remove the faucet cartridge while making sure that the surrounding parts are not damaged which is essential for an appropriate leaky shower faucet repair.
Replacement Parts: Replacement parts like O-rings, washers, or a new cartridge should be in hand to use, depending on the source of the leak or damage. This will ensure a successful and proper repair.
Plumber’s Grease: Plumber’s grease is commonly used for lubricating newly installed parts as it ensures smooth and streamlined operation and longevity of faucet components by reducing friction and wear.
A Step-by-step Guide on How to Fix a Leaky Shower Faucet (Single Handle):
Save water and money by fixing your leaky shower faucet at your home and all by yourself. All you need to repair are a few tools, a bit of patience, and a comprehensive guide to ensure you’re doing it right. And we have it all sorted for you with a step-by-step guide on how to fix a leaky shower faucet single handle. Follow these 7 simple steps and fix this common problem without seeking professional help.
Turn off the Water Supply:
Before beginning the repair procedure, don’t forget to turn off the water supply to your shower to prevent any water damage or danger. Shut off valves that you can easily find behind the shower or near the main water line.
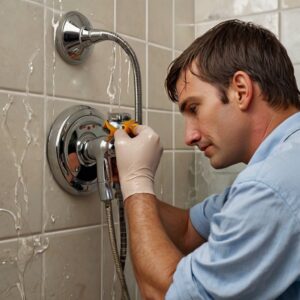
Remove the Shower Faucet Handle:
The next step is to remove the screws that are holding the handle in position by using an Allen wrench or a screwdriver. Carefully separate the handle so that all the inner components are exposed. Make sure to keep all the removed screws safe somewhere so you won’t lose them.
Remove the Trim Plate:
After taking off the handle, unscrew the trim plate and remove it from the wall. This trim plate will give you access to the cartridge, which is often the main cause of the leaky shower faucet handle.
Remove the Cartridge:
The following step is to gently pull out the cartridge from the faucet assembly by using a cartridge puller or pliers. While removing the cartridge, ensure that no surrounding parts get damaged because it might have already worn out or damaged seals, becoming the cause of leakage of the shower faucet.
Examine and Replace/Install New Parts:
Now, carefully inspect the cartridge, washers, and O-rings for any signs of damage or wear out, and replace them with new ones if damaged or worn out. If the cartridge seems damaged, then replace it entirely. Ensure that all parts are in first condition before heading to the next step.
Apply Grease and Reassemble:
After ensuring the condition of all the parts, lubricate the O-rings, cartridge, and washers with the plumber’s grease to avoid any future leaks and for smooth operation. Once the greasing is done, put back the cartridge into the faucet assembly, reinsert the trim plate back in position, and carefully reattach the handle.
Test:
After all the steps are followed accurately and carefully, turn on the water supply and test the faucet if it has stopped leaking or not. If you’ve made sure to follow the procedure correctly, then you should now have a leak-free shower faucet.
By following this step-by-step guide on how to fix a leaky one-handle shower faucet, you can save both your water bills and water from getting wasted and can fix it at home without calling or hiring a professional plumber. Be your help, and enjoy a leak-free shower experience with this detailed guide!
7 Most Common Home Electrical Issues in Dubai
We cannot imagine our lives without electricity! Indeed, we can’t. But as it plays a pivotal role in our lives and benefits us in more than one way, of course, it demands something as well which is nothing but some attention and care which turns out to be for your safety protection. If you’re facing flickering light bulbs or tripping circuit breakers, then don’t just sit back and leave it on its own. You might see it as an electrical nuisance, but in fact, it hints at underlying electrical problems in house that could turn out in major problems.
Electrical issues in homes can pose significant safety hazards and disrupt daily life. In Dubai, residents often encounter several common electrical problems:
- Frequent Power Surges: These can damage household appliances and electronics. Causes include lightning, faulty wiring, and high-power devices. Preventive measures involve using surge protectors, ensuring proper wiring, and unplugging devices during storms.
- Overloaded Circuits: Overloading occurs when too many devices draw power from a single circuit, leading to tripped breakers and potential fire risks. To prevent this, distribute devices across multiple circuits, ensure adequate wiring, and avoid using high-power appliances simultaneously.
- Tripped Circuit Breakers: Circuit breakers trip to prevent overloads or short circuits. Frequent tripping may indicate underlying issues. Address this by identifying and resolving the cause of the overload, resetting the breaker, and consulting a professional if the problem persists.
- Faulty Wiring: Damaged or outdated wiring can lead to electrical hazards. Regular inspection and maintenance are essential. Replace outdated wiring and ensure professional installation to mitigate risks.
- Flickering or Dimming Lights: This often indicates loose connections, overloaded circuits, or issues with the bulb itself. Check bulb connections, replace faulty bulbs, and consult an electrician if the problem persists.
- Non-Functioning Outlets: Outlets that don’t work may have loose connections, damaged wiring, or a tripped Ground Fault Circuit Interrupter (GFCI). Test the outlet, check the circuit breaker or GFCI reset button, and hire a licensed electrician if the issue remains unresolved.
- Electric Shocks: Experiencing electric shocks from appliances or outlets can indicate grounding issues or faulty wiring. Avoid using the affected appliance, inspect wiring, and consult a professional to address the problem.
Addressing these issues promptly with professional assistance can ensure electrical safety and prevent potential hazards in your home.
How to Fix a Leaky Shower Faucet (Single Handle)
Are you tired of constantly hearing the dripping sound of your shower faucet? If so, you may need to fix it as soon as possible. Because a leaky shower faucet isn’t just a minor inconvenience, it’s much more than that. This inconvenience can lead to increased water bills and waste. So, if you’re facing this problem, you might be wondering how to fix a leaky shower faucet single handle at home without any professional need. So, don’t worry because fixing a leaky shower faucet (single handle) is not as complicated as you think. Here’s a detailed step-by-step guide on how
A leaky single-handle shower faucet is often caused by a worn-out cartridge, which controls water flow and temperature. To fix this issue:
- Turn Off the Water Supply: Locate the main water shut-off valve in your home and turn it off to prevent water flow during the repair.
- Remove the Handle and Trim: Use a screwdriver to remove the handle and any decorative trim plates, exposing the faucet’s internal components.
- Extract the Cartridge: Depending on your faucet model, you may need to remove a retaining clip or nut to free the cartridge. Use pliers or a wrench to carefully extract the old cartridge.
- Install the New Cartridge: Place the new cartridge into the valve body, ensuring it’s oriented correctly. Reattach any retaining clips or nuts to secure it in place.
- Reassemble the Faucet: Replace the trim plates and handle, restoring the faucet to its original appearance.
- Turn On the Water Supply: Gradually turn the main water supply back on and test the faucet to ensure the leak is resolved.